Saturday, January 5, 2013

Decorating with Winter Bling!


I have officially "deChristmased" the house, but have left up a bit of glittery winter bling to brighten the grey days ahead!

A bit of greenery, white berries, and a broken pearl necklace.


A snowflake with a vintage clipon earring.


My bathroom shelf with cute Pottery Barn jar (thanks Jenni) and tiny olive oil shampoos from Florence, Italy.


A gargoyle with winter berries and greenery.

Do you do anything to brighten your house after the Christmas decor is gone?

- Posted using BlogPress from my iPad

Tuesday, January 1, 2013

and a Happy New Year!


A wish for you!

This is what happens when Clever Karen spends the morning at Pinterest, finding Chalkboard Pins and downloading new fonts!

I made this little greeting using a free chalkboard background download from Foolish Fire.  I pulled it into PrintShop2 as a background and added text with fancy fonts and dingbats in white.  Pretty easy to do!

You are welcome to download and use the image for your own personal use and share the link on Pinterest!

Easy Chicken Alfredo Lasagna


Over Christmas, I wanted an easy recipe that I could put together in advance and later pop in the oven to take home to my family.  This is my twist on a "white" lasagna made the easy way using jarred Alfredo sauce.  I was so happy with how it turned out that I've made it twice!

I am going to give you the recipe in "layers."  It would be very easy to customize what you put in each layer, so I will tell you what I used and then give some other suggestions of things to try.


SAUCE LAYER

2 jars of Alfredo sauce

(For my first lasagna, I used sauce from Trader Joes.  It was mild and creamy - comfort food. It thought maybe a bit more salt or spice might be needed, so the second time I added more salt and Italian herbs and a pinch of red pepper flakes.  Second try I used the Classico brand - I tried a Four Cheese and a Asiago style.  Both were very good.  Your favorite red sauce could be used to make a more traditional lasagna.)

NOODLE LAYER


A package of lasagna noodles

(I used Trader Joes no boil noodles.  So easy!  I didn't need the entire box to make 3 layers of noodles.)

Here you can see how I laid the noodles in the pan.


RICOTTA LAYER

1 container of ricotta cheese  (I used a lower fat version)
1 cup grated romano or parmesan cheese (I used a Trader Joes brand that is a blend of both.)
1/2 cup shredded parmesan cheese (again, from Trader Joes)
1 egg
1 teaspoon salt
freshly graded black pepper
2 teaspoons dried Italian herbs  (fresh chopped parley might work as well)

Blend all the ingredients together in a medium bowl.

VEGETABLE LAYER

1/2 package frozen chopped spinach, thawed, drained, and liquid pressed out
1 red pepper chopped
1 small onion chopped
2 teaspoons chopped garlic
salt to taste
olive oil
red pepper flakes, if desired

Saute the chopped onion and red pepper in a bit of olive oil. Add chopped garlic, spinach, and salt.

(I think you could add your choice of vegetables here - maybe mushrooms, olives, squash, arugula.  Next time I think I will try fresh baby spinach, chopped fine.)

MEAT LAYER

Chopped chicken (I used one package of grilled chicken from Trader Joes, chopped in bite sized pieces.  Use any cooked and seasoned chicken.  I think you could also try cooked sausage, bacon,  or seafood.  Or omit the meat completely to make a vegetarian version.)

CHEESE TOPPING

I used a mix of grated mozzarella and parmesan, didn't measure, just enough to generously cover the top.


INSTRUCTIONS:

Gather all ingredients for each layer and prepare in advance.
Use a 9 x 13 pan.  Spray with cooking spray.
Begin layering your lasagna:

1.  Spread 1/3 of a bottle sauce on the bottom of your pan.
2.  Cover with noodles.  Break the noodles to fit or overlap.  (I used 5 noodles for each layer.)
3.  Spread 1/2 of the ricotta mix.
4.  Sprinkle 1/2 of the vegetable mix.
5.  Sprinkle 1/2 of the meat mix.
6.  Spread 2/3 of the bottle sauce.
7.  Repeat layers 2 - 6. 
8.  Top with noodles and then cover with the remaining 1/3 sauce.
9.  Cover with the cheese topping.

At this point, cover with foil and refrigerate.  (It will hold for several days.)
Remove from refrigerator for about 10 minutes before baking (while preheating the oven).
Preheat oven to 375 degrees.  Bake covered with foil for about 45 minutes.  During the last 10 - 15 minutes, remove the foil and let the cheese topping brown.
Let the lasagna set for about 10 -15 minutes before cutting and serving.

Serves 8.

Sunday, December 30, 2012

Cranberry "Margarita"


I needed an excuse to use these cute sugar swizzle sticks from Trader Joe's.


They are perfect to sweeten up a tart drink!

Juice of half a lime
2/3 a glass 100% cranberry juice from Trader Joe's
Top with Pellegrino or other sparkling mineral water.


Stir!

The pure cranberry juice is very sour, so the swizzle stick adds just a bit of sweet!

- Posted using BlogPress from my iPhone

Friday, December 28, 2012

Orange Pecan Snowflake Cookies


I had picked up a Wilton Snowflake Cookie pan after last Christmas in the markdowns at Lobby Hobby. After my success using a cookie mix for the Cranberry Pistachio Cookies, I decided to with experiment  a variation using the same recipe as a base to use in the cookie mold pan. 


This recipe worked perfectly - it didn't puff up out of the pan, stayed tender and chewy, and had a nice golden crust on the outside.  The cookies look so pretty and it was awesomely easy!


Orange pecan snowflake cookies

Ingredients:

1 (1 lb 1.5 ounce) pouch Betty Crocker Sugar Cookie Mix
1 box (4 serving size) vanilla instant pudding and pie filling mix
1/4 cup flour
1/2 cup butter, melted and cooled slightly
2 eggs
3/4 cup pecans, chopped fine
peel of one orange, grated fine
3/4 teaspoon orange extract flavoring

Directions:

1.  Preheat your oven to 350 degrees.

2.  In a large bowl stir the cookie mix, pudding, flour, pecans, and grated orange peel together. Add melted butter, eggs, and orange flavoring. Stir until blended.

3.  Take a ball of dough and press into greased cookie pan so that the dough is slightly smaller than the mold (or drop by spoonfuls onto parchment paper if you don't have a cookie pan).

4.  Bake for 8-10 minutes. Do not over bake or they will not be soft and chewy!  Take them out when when the outside edge is golden. Let them cool for about 5 minutes, then remove and let them cool on a wire baking rack.  (I was able to use my fingernail to flip them gently out of the mold - they stayed together perfectly.) Store in an airtight container.


Makes about 2 dozen cookies.

Thursday, December 20, 2012

Cranberry Pistachio Cookies


I've been finding way too many yummy looking Christmas treats via Pinterest recently.  I thought these cranberry pistachio cookies from The Girl Who Ate Everything blog looked quite yummy and decided I needed to try them.


I was quite surprised to find that they were made using a Betty Crocker cookie mix. I normally do not make cookies from a mix, but decided to give them a try.  Well, they are ridiculously easy and amazingly rich, soft, and chewy! They are my new favorite! Since pistachios are quite expensive, I made a slight change to the original recipe by using less pistachios (a half cup).

Cran-Pistachio Cookies

Ingredients

1 (1 lb 1.5 ounce) pouch Betty Crocker Sugar Cookie Mix
1 box (4 serving size) pistachio instant pudding and pie filling mix
1/4 cup flour
1/2 cup butter, melted and cooled slightly
2 eggs
a few drops green food coloring (optional)
1/2 cup pistachios, chopped
1/2 cup dried cranberries, chopped


Directions:

1.  Preheat your oven to 350 degrees.
2.  In a large bowl stir the cookie mix, pudding, and flour together. Add melted butter, eggs, food coloring. Stir until blended.
3. Add pistachios and cranberries and mix well.
4. Drop by rounded spoonfuls onto a cookie sheet that is lined with parchment paper.  (I used a Silpat mat instead, and it worked perfectly!)
5.  Bake for 8-10 minutes. Do not over bake or they will not be soft and chewy!  Take them out when they are set but not browned.  They will still look unbaked, but let them cool for about 2 minutes, then remove and let them cool on a wire baking rack.  Store in an airtight container.

Makes about 2 dozen cookies.


Saturday, December 15, 2012

Italiana Albero DI Natale


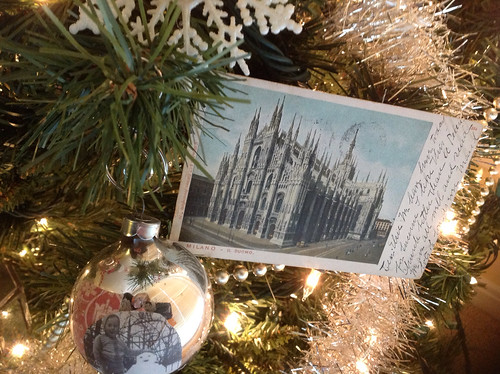
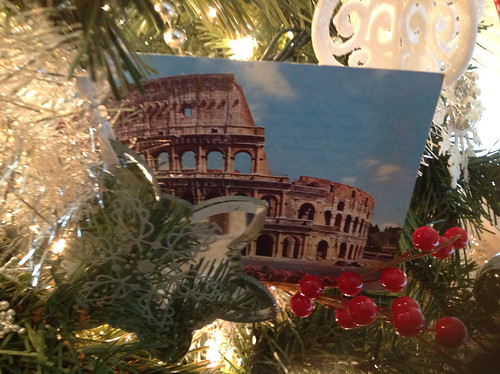
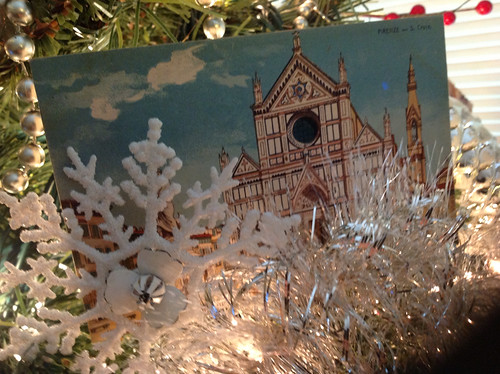
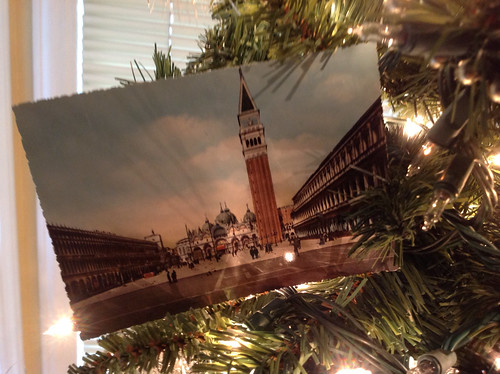
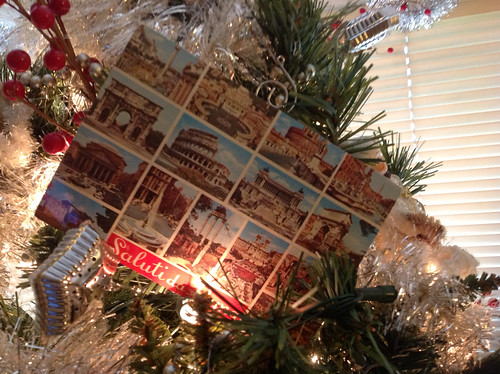
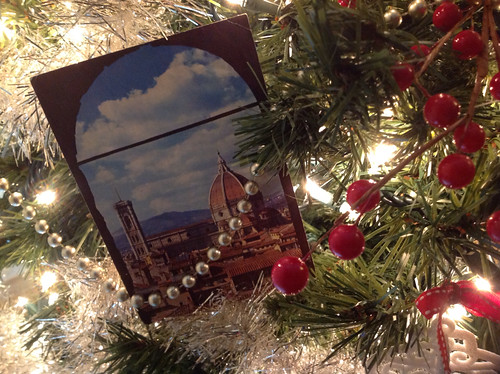
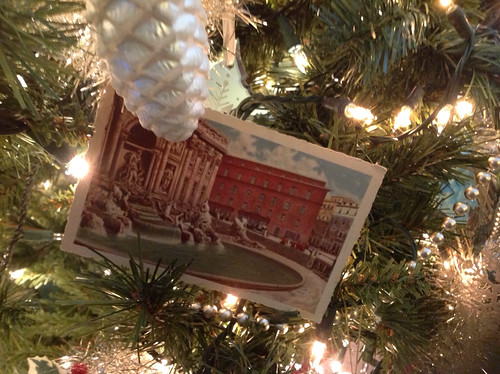
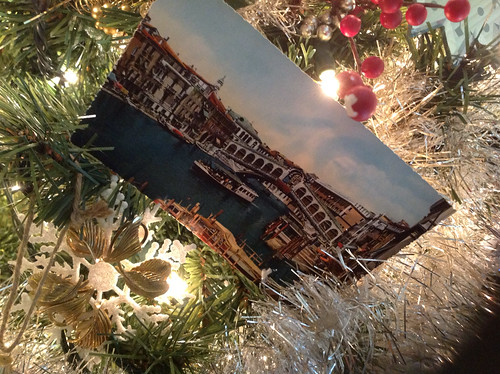
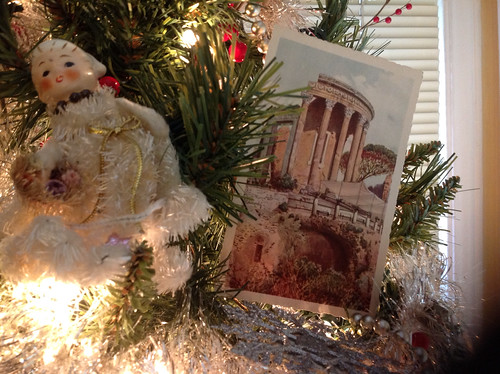
When I finished decorating my Christmas tree last week, it just seemed blah.  So I gathered a stash of vintage postcards from Italy that I collected after my trip last summer and tucked them into the branches.


Seeing these pictures of all the lovely places that I visited during the summer makes me smile every time I look at the tree.
A friend gave me this cute passport ornament that goes perfectly with the postcards!


LinkWithin

Blog Widget by LinkWithin